Difficulty Level
Beginner – Intermediate
Notes
Thank you for choosing this pattern.
If you are comfortable using combinations of basic crochet stitches, following a written pattern, and have basic sewing skills, you should be able to complete this project.
This pattern is for personal use only. Please do not copy, sell, translate, or otherwise distribute the pattern. However, you are free to do whatever you wish with your final project, including selling them.
Abbreviations
| sc | Single crochet |
| inc | Increase |
| dec | Decrease |
| ch | Chain |
| slst | Slip stitch |
| mr | Magic ring If you don’t like doing the magic ring, you can simply chain 3 and slip stitch the ends together, chain one and then single crochet into the center of the ring you made. |
Materials
All the supplies I used are listed below, but you can get creative, swap out materials and create this pattern in any color or theme you wish.
Yarn and Hook: Use whatever yarn you want, just make sure that you also adjust the hook size for the yarn you are using. Remember, the recommended hook size on the yarn package is typically way too big to make nice tight stitches for amigurumi.
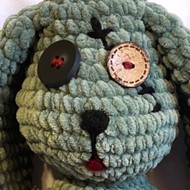
Eyes: I used button eyes for this pattern, but they can easily be substituted with safety eyes or felt eyes. Go with whatever gives you joy
Nose and Mouth: I love the flexibility that needle felting allows for creating whatever look I’m going for, but you can use whatever you like (safety noses, felt nose/mouth, embroidery). Many people create amigurumi without a nose or a mouth.
Disappearing Fabric Marker: I recommend marking the placement of the limbs before sewing them on, so they end up exactly where you wanted them.
| Yarn Used |
| Main body: Chenille Home Slim- Agave (approx. 300 yards)Patch: Chenille Home Slim – Boysenberry (approx. 3 yards)Stitches: Red Heart – Black (approx. 3 yards)Eyes: Red Heart – Burgundy (approx. 3 yards) |
| Hook Used |
| 4mm (4.5 or 5mm may be easier and will still work with Chenelle Home Slim) |
| Eyes Used |
| One 1¼” Wooden button (for the side with the stitches) One 1¼” Black button |
| Stuffing |
| Polyester fiber stuffing |
| Nose and Mouth (absolutely optional) |
| Needle felting materials Wool roving, Felting needle |
| Needle |
| Tapestry needle |
| Marker |
| Disappearing fabric marker |
Pattern
When working this pattern, work so that the right side faces out. Be sure to pay attention to the details of each row. There is variation in the number of increases and decreases.
This pattern is worked in continuous rounds. Do not join at the end of your rounds. Using a stitch marker to mark the first stitch of the row you’re working on (or the last stitch of the previous row) is recommended.
This pattern was created so that the only parts you will need to sew on are the legs, patch, and detail stitching.
Let’s get into it!
Ears x2 (make first if you want to use the low sew method)
1. mr 8sc (8)
2. inc x8 (16)
3. (sc, inc) x8 (24)
4-14. 24sc (24 x 11 rows)
15. (2sc, dec) x6 (18)
16. (4sc, dec) x3 (15)
17-19. 15sc (15 x 3 rows)
20. (3sc, dec) x3 (12)
21. 12sc (12)
22. Fold ear so the end is closed and crochet both sides
together with 6sc (6)
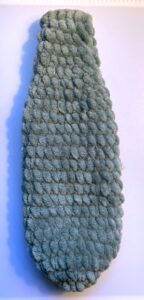
Arms x2 (make before head and body if you want to use the low sew method)
1. mr 6sc (6)
2. inc x6 (12)
3. (sc, inc) x6 (18)
4-9. 18sc (18 x 6 rows)
10. (sc, dec) x6 (12)
11-14. 12sc (12 x 4 rows)
Stuff arm. use less stuffing in the upper arm to allow for closure. The amount of stuffing you use in the arms will affect how they lay against the body. The more stuffing you use the less floppy the arm will be.
Pinch opening closed and crochet closed using 6sc (6)
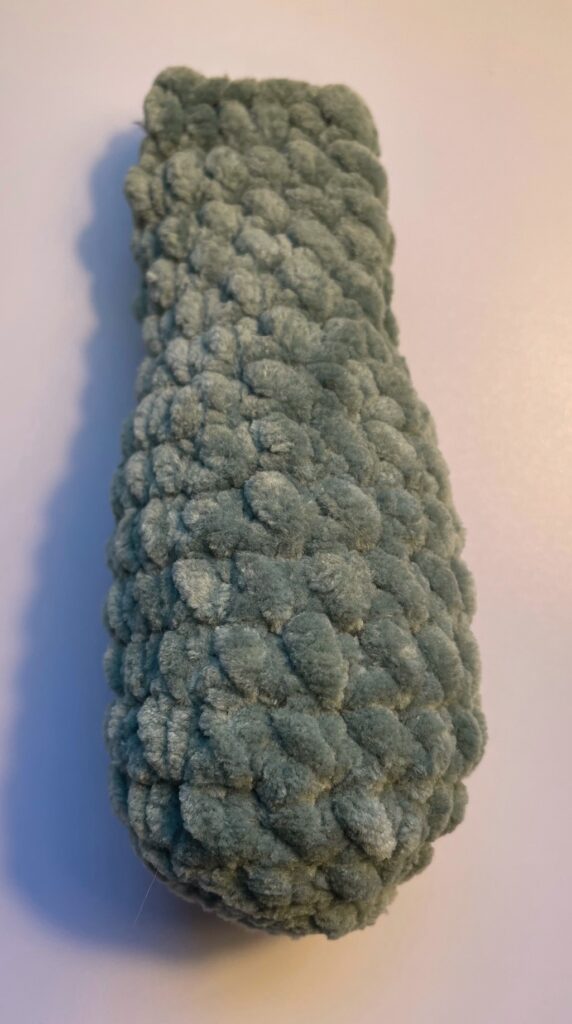
Head/Body
1. mr 8sc (8)
2. inc x8 (16)
3. (sc, inc) x8 (24)
4. Time to attach the ears…6sc, 6sc through the first ear and the head, 6sc, 6sc through the second ear and the head.
Note: When crocheting ears to the head, hold the ear against the outside of the head so that it is hanging upside down as if standing up on the rabbit’s head, insert your hook through the ear first then through the next stitch in the head.
If the ears hanging down will bother you as you continue to work the rest of this pattern, you can opt to sew them on after you complete the head and body. If you choose to sew them on at the end, you can just do 24sc for this row.
5. (3sc, inc) x6 (30)
6. 30sc (30)
7. (4sc, inc) x6 (36)
8. 12sc, (3sc, inc) x6 (42)
9. 12sc, (4sc, inc) x6 (48)
10-11. 48sc (48 x 2 rows)
12. (4sc, dec) x8 (40)
13. (3sc, dec) x8 (32)
14. (2sc, dec) x8 (24)
15. (sc, dec) x8 (16)
16. 16sc (16)
This completes the head. We will now continue with the body.
17. (sc, inc) x8 (24)
Stuff head.
18. (3sc, inc) x6 (30)
19. 11sc, 6sc through the first arm then through the body, 7sc, 6sc through second arm then through the body, 2sc. (30)
Note: When crocheting arms to the body, hold the arm against the outside of the body so that it is hanging upside down so the arms are reaching toward the top of the head, insert your hook through the arm first then through the next stitch in the body.
If you prefer to sew the arms on after you complete the body, use 30sc for row 19.
20. (4sc, inc) x6 (36)
21. 36sc (36)
22. 16sc, (2sc, inc) x6, 2sc (42)
23-24. 42sc (42 x 2 rows)
25. (6sc, inc) x6 (48)
26-28. 48sc (48 x 3rows)
29. (4sc, dec) x8 (40)
30. (3sc, dec) x8 (32)
31. (2sc, dec) x8 (24)
32. 24sc (24)
Start stuffing the body. Add more stuffing as needed as you continue to close up the body.
33. (sc, dec) x8 (16)
34. (2sc, dec) x4 (12)
35. (dec) x6 (6)
36. Tie off leaving a tail long enough to weave through the last 6 stitches to pull opening closed. Secure, weave end into body.
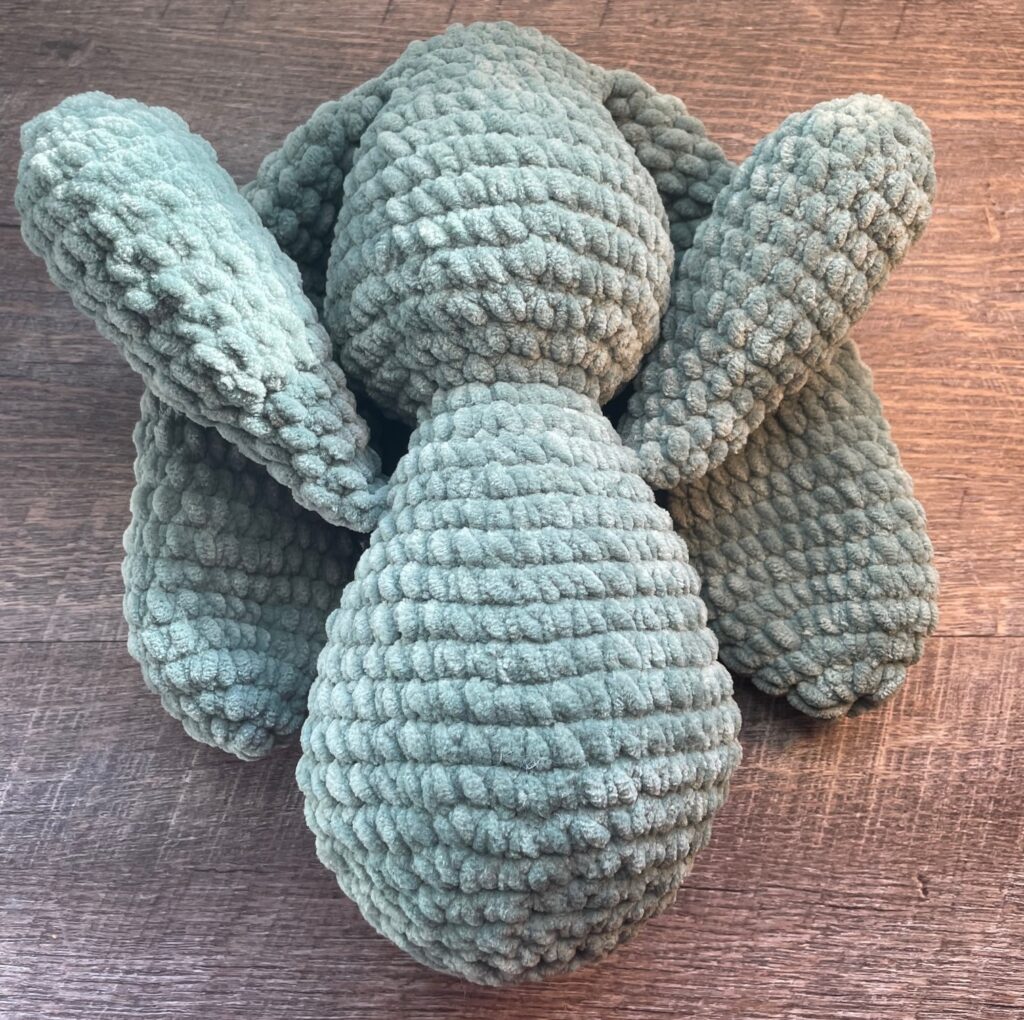
Legs x2
1. mr 6sc (6)
2. inc x6 (12)
3. (sc, inc) x6 (18)
4. (2sc, inc) x6 (24)
5-8. 24sc (24 x 4 rows)
9. (2sc, dec) x6 (18)
10-12. 18sc (18 x 3 rows)
13. (sc, dec) x6 (12)
14-15. 12sc (12 x 2 rows)
Stuff leg. use less stuffing in the upper leg to allow for closure.
15. Pinch opening closed and crochet closed using 6sc (6)
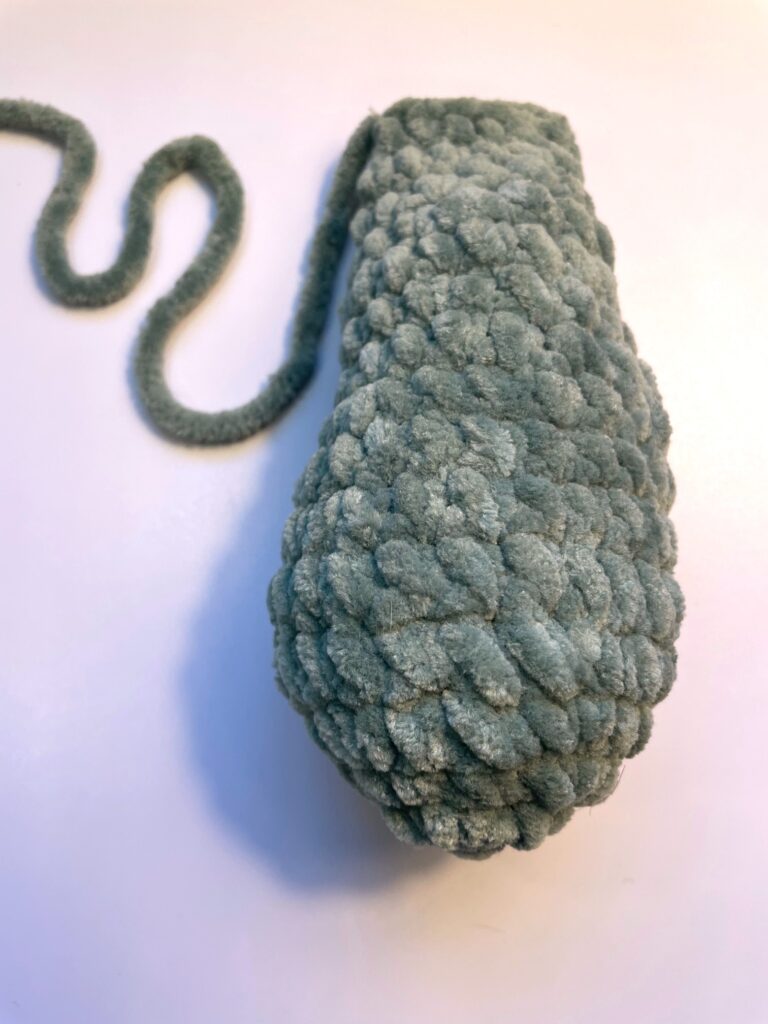
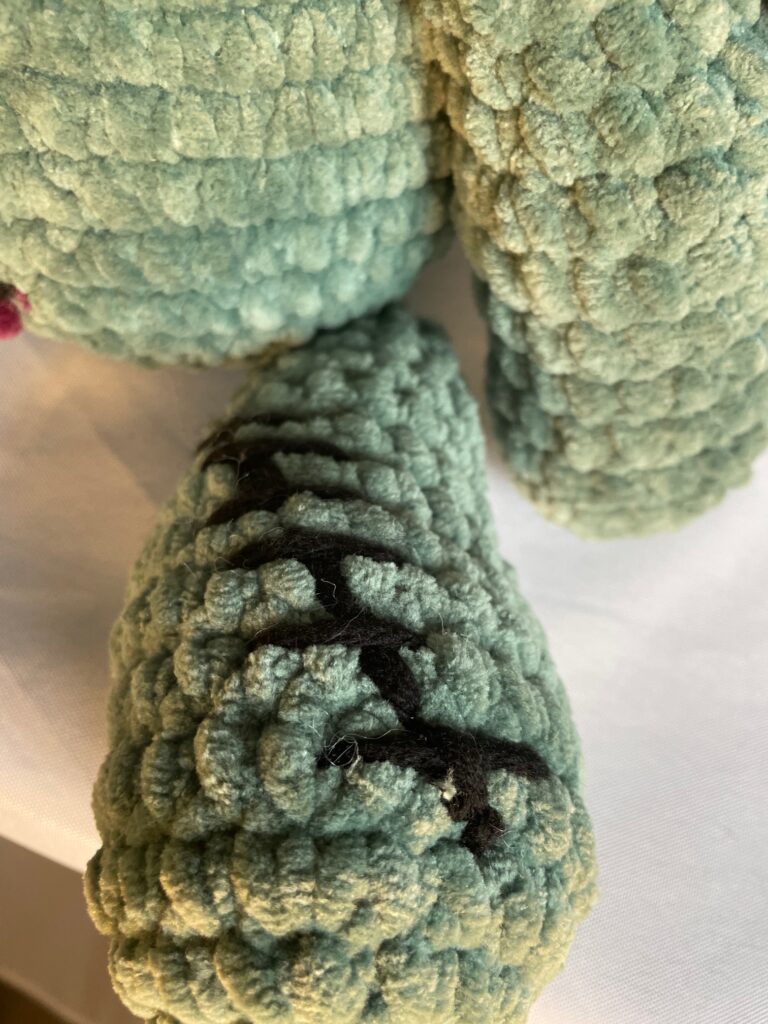
Image 2. Leg
Attach Legs: Sew legs onto bottom of the body (mark placement with disappearing marker). I like to line them up with the center of the bottom of the body and with the center of the arm.
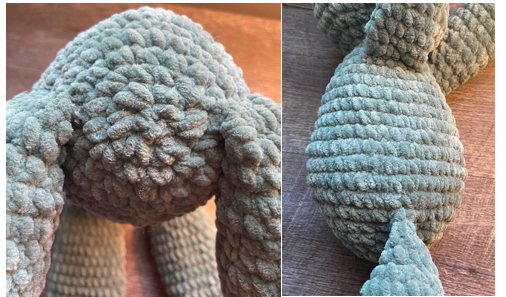
Patch
1. ch7 (7)
2. Beginning in the 2nd chain from hook, 6sc, ch1, turn (7)
3-5. 6sc, ch1, turn (7 x 3 rows)
6. 6sc
Tie off and weave in end. Sew to body with some messy stitches in an alternate color (remember it’s a zombie bunny…)
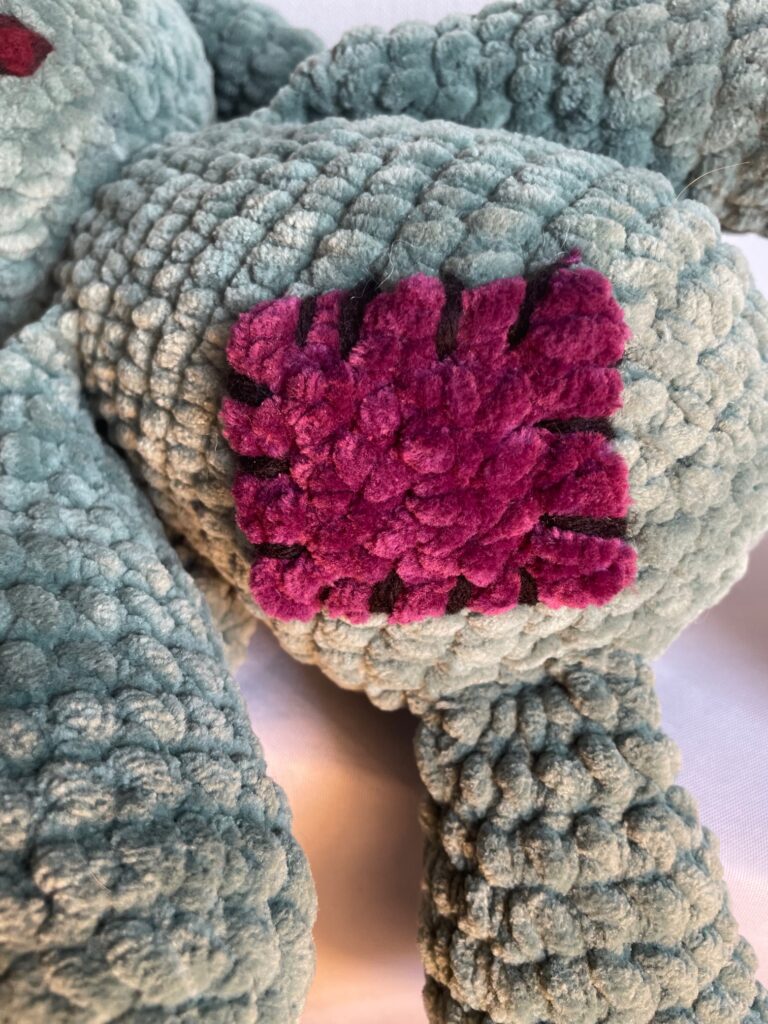
Stitches
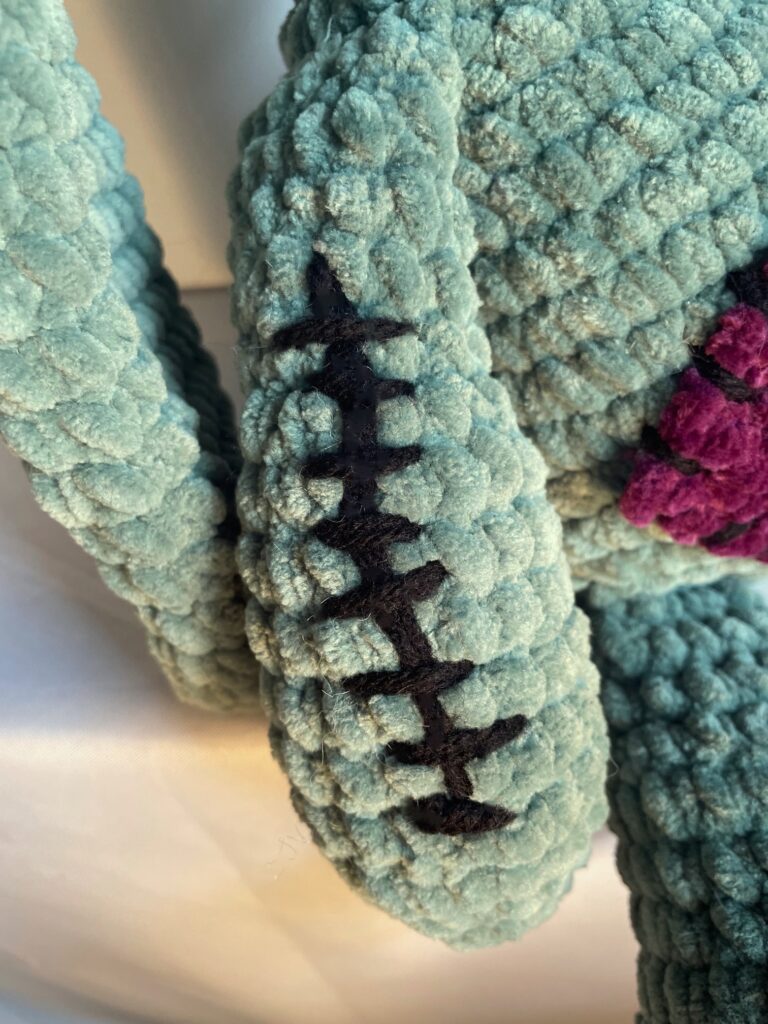
Add stitching wherever you’d like (or not if you prefer). I like to put some across the face under one of the eyes, a strip of stitches down one of the arms and on one of the legs.
Button Eyes
Sew on the button eyes.
Nose and Mouth
Needle felt nose and mouth.
